"She looketh well to the ways of her household, and eateth not the bread of idleness." Proverbs 31:27

Friday, June 29, 2012

Heating Pad Tutorial

Do you ever have a project that you want to do, is very easy, but for some reason it takes you a year to make it?  That is what happened with my heating pad!


I have been wanting a heating pad that I could heat in the microwave or oven.  This took me about 30 minutes to make!  I actually bought this material when I was a teenager and made it into culottes.  I found a picture of me wearing them from my honeymoon!
It's not the best picture in the world!  I was 21 and just had a cheap camera.  We'll be married 17 years in August.  I was very surprised when I found the material!  I still have a lot left.  I've collected penguins since I was 16, but I'm a little old for this fabric now, but I though it would be great for a heating pad!
First, you figure out how big you want it.  I measured across my stomach to figure out how big I wanted it.  I'll use it for cramps and backaches.  I doubled the material and then folded it in half.  I sewed up each side and a few inches across the top on both sides.
Be sure to leave an opening big enough to turn your material right side out.  Clip the corners before turning to make it look nicer.
Turn it right side out and iron it, folded the unsewn parts under.  This is for when you sew it after adding your rice.
Next, sew some lines in the middle of the case.  I thought I would make swirlies for fun, next time I will just sew three or four straight lines. Leave some room for the rice to move through the botttom and the top.
Next, add some rice or deer corn.  I also added eucalyptus and lavender to make it an aromatherapy pack too.
Just use cheap rice, you aren't eating it!  Don't fill it over full, you want it flexible.  I poured it in a bowl to mix in my herbs and used a pointy measuring cup to pour it in the case.  I had my husband pour while I held the case.  Pippi wanted to help.
Be careful when sew the opening closed, I poured it all over my floor which the cats thought was fun!
You're done!  You now have an easy to make heating pad!  Just pop it in the microwave for a couple of minutes when you are ready to use it!  You can also  heat it slowly in the oven.  Here are directions for that, takes 15 minutes:  http://www.ehow.com/how_7795612_bake-heat-pads.html .
Enjoy!
Missy


Tuesday, June 26, 2012

New Skirt (UFO)

I finished one of my UFO's!  http://missyscakesandaprons.blogspot.com/2011/12/ufo-2012-list.html I was supposed to have it done a long time ago, I actually finished it in April.  I have been going out of town like every two weeks and have not had a chance to blog about it!
I got the pattern from the book Sew Serendipity by Kay Whitt.
Sew Serendipity (book)
http://www.sewserendipity.com/product_info.php?products_id=145
I made the tunic dress out of it last year.  You can see it here:  http://missyscakesandaprons.blogspot.com/2011/06/sew-serendipity-tunic-dress.html
It is very easy to understand her directions.  My favorite is the pockets!
 I did a fussy cut on the pockets.  A fussy cut is where you cut the material for a certain pattern to be "showcased".


I did mess up on the sizing, I made it too tight, so I added a blue strip to make it bigger.

Always pin your skirt on before you sew it in case you made a mistake like I did.  It still was not big enough, so I added more.  Then I added too much and had to take some off.  My problem is that my waist is smaller than my hips and backside.
It's still too big, so I am going to try adding some pleats, I think that will be cute and look better than me messing with it more.
I did a pretty good job on the zipper though!

Kay was on "Sewing With Nancy" and shared some great tips!
Here is part one:  http://video.wpt2.org/video/1700991445/
Here is part two:  http://video.wpt2.org/video/1701022470/
I did make the skirt longer, and she gives you directions on how to modify her patterns.
I love this book, I would recommend that you buy one!  I have another pattern, the Betty June dress, that is waiting to be made.
Have fun sewing!
Missy

Monday, June 25, 2012

Design Wall Monday

I finally finished all of my "flowers"!  I only had 20 to make, but it makes a 16 1/2 block and it is my first hand pieced project. I have been working on it since April.  I have noticed that my stitches are smaller and faster now than when I started.  I put a blue hexie between the flowers to get an idea of size and placement.
I am only going to put one strip of the blue between each flower, so for now I am going to add the border around every other flower and then re-evaluate after I have laid it out and looked at it.  I think this is the order I will keep the flowers.  If you see a flower I should move around please let me know.  I just spent an hour trying to decide where to put the flowers. 
I put a note on each flower where it goes in order and whether or not it gets a border.

I then stacked the ones that get borders in one pile, and a pile for the ones that do not get borders.  I have cut enough blue hexies so far for five flowers, so I need to cut five more, although I will need more than that since I will be finishing the quilt with blue hexies all around.  I got a new "basket" to carry my quilt in as I work on it.  I still have my small pouch to carry in my purse when the basket is inconvenient though.

I wanted to share some pictures of Midnight, the kitten I was taking care of.  She has gone back to her owner now, I really miss her!  Please excuse my messy carpet, my vacuum was not working, but I found a great one at a yard sale for $10!
 Pippi not letting her get away, she needed a bath!
 What is that smell?  Is it a mouse or a new toy?  At least that is what I think he was thinking since he kept "bopping" her!
 Finally they let her take a nap!  She got lots of cat baths wile she was here!
I never did hear from the winner of the book The River Rose I sent her 2 emails and she never answered, so I drew a new winner!  Actually, Pippi did.  I put the pieces of paper on the floor and the one she tried to eat won.  


eyeballlucy said...
I love to win.....this book sounds so awrsome.......

I'll send you an email!

I hope ya'll have a great day!
Missy


Wednesday, June 20, 2012

Accordion and treadle irons


 Growing up my daddy loved to play the Lawrence Welk Show as a young teenager.  His favorite song to play was "Lady of Spain".  I asked my step mom if I could have his accordion after he passed away.  Of course she said yes.  I have no idea how old this accordion is or if this is the same one he played when I was a little girl back in the 70s.  It is an Italian made accordion.  It is a Scandalli 461/13.  I told my husband I was bringing it home after the funeral.  He watched some youtube videos and when I got it home, he picked it up and played it!  I have a very talented husband.  He played the saxophone and bass clarinet in band during school.  That is all the musical training he has had.  Since then he has taught himself how to play the violin and viola.  A couple of years ago he bought a bass that he taught himself to play and now plays at church during the song service.  He is now learning how to play the cello and the accordion!  I'm still fumbling through trying to learn the xylophone! 
 Here are some pictures of my dad that we put up at the funeral.
There were two treadle irons in the front yard of my daddy's house, he was going to make them into end tables.  I do not know what my plans for them are yet, aside from painting that "singer" black again.
 I do not know what brand this one is.  I will probably fit them with a treadle head.
Here is a picture of my daddy and step mom at the Marine Ball last year.
Thank you for joining on my stroll through memory lane!  If you have any information on the accordion or treadle iron, please share!
Missy

Tuesday, June 19, 2012

Kitten-Sitting

I have posts I need to write up, but I've been a little busy kitten-sitting an orphan this week.  My friend asked me to watch her little baby.  She has such a sad story.
Her mom, who was feral, was being fed by an elderly gentleman.  (parts of the facts might be a little off)  She was pregnant, and a friend of the gentleman saw her being chased by a fox and scared the fox off.  The gentleman went to the hospital for surgery and his friend came by the house (I'm guessing to feed the animals or something)a couple of days later and the momma was no longer pregnant.  I'm not sure if this was when he found her dead or not.  But he found her and the fox had gotten her.  He found two kittens he took home.      Ebbye came by a couple of days later and found another one, Midnight (we are talking days without food), she found two more the next day in the insulation of his house.  They had been without food for about 6-8 days,  Midnight is the only who has survived.  The only thing done differently, was she gave Midnight organic yogurt when she brought her home.  Noone else got the yogurt.
She is about two weeks of age and her name is Midnight.   We are feeding her goat's milk and yogurt. (Goat's milk is very similar to cat's milk and has all the nutrients she needs) She slept all day Monday, in between feedings.  Today, she is staying up longer, and sleeping longer, like my other cats.  She is playing and very active.  She has a box she sleeps in, but since I can't always hold her when she is awake, I made her a playpen, so I can carry her wherever I go and she can see me.  She doesn't cry as long as she can see me.
I gave her a little penguin that she likes to play with, and I did notice that one of the other cats stole her pom pom ball while she was sleeping in the box!  I've been setting my alarm for 2am and 6am for her feedings.  This way I can have her bottle ready when she wakes up for her food.  I also have to "make" her go potty.  I never thought I would be excited about poop!  It is still very runny, mustard like and she "screams" when I'm stimulating her to go.  Is this normal?
It's been like having a newborn in the house, except this one has four legs!  Here is some great information my friend Holly found for me:  http://www.teamfurr.org/pages/BottleFeedingKittens.shtml#
I'll try to get a short tutorial posted tomorrow, I also need to can bread and butter pickles tomorrow, I hope they turn out!  I seem to have to work around her schedule though.
Missy

Wednesday, June 13, 2012

Circle Upon Circle Quilt


Do you remember when I showed you these quilts that my Nanny made?  I did not know what the name of the pattern was.  Sunday morning before church, I picked up a magazine/book I had receives as part of the prize package when I won my Janome.  It had gotten put up with some old magazines and I had not looked at it yet.  Which is surprising since I love antique quilts, it is called "Antique Quilts, Classic Favorites and Modern Remakes" from Better Homes and Gardens.  Imagine my surprise when I opened it, and there it was!  I found a link at the website http://www.allpeoplequilt.com/antiquequilts/antique-quilts_ss2.html .
slideshow imageThe picture of the real quilts look a lot better.
 It is called Circle Upon Circle!  I read that it was also called nine patch wedding ring, and I did find one tutorial for that here:  http://sewkindofwonderful.blogspot.com/2012/02/urban-nine-patch-tutorial.html because when you put the nine patches together it forms a wedding ring pattern. Her block is different though, but close.  Here is her's finished, looks really different and she calls it Urban nine patch: http://sewkindofwonderful.blogspot.com/2012/05/urban-nine-patch-quilt.html  I was wondering if it was a knock off of the wedding ring pattern.
 It was also suggested it could be called a glorified nine patch, I'll have to disagree with that since when I did a search on that the blocks looked nothing like this.  I found a free pattern here:  http://www.patternsfromhistory.com/colonial_revival/hannas_quilt.htm# .  Her great grandmother made her quilt.
I really like the pattern in the magazine though, it gives the complete patterns and templates and it gives you the old fashioned way to make it and an updated easier way to construct it.  You can either make a nine patch block and then cut the circles from the side (using a template) and then sew the circles on the edges to form a circle or you can just applique them on instead of cutting the block.
Here is a close up of the scalloped pink edges:
My camera died before I could get a better picture of the edges and a closer view of the quilts, and of course I had forgotten my charger!  My Nanny hand quilted them!
I still wish I could have brought one of these quilts home with me, but I could only choose one quilt for myself.  Maybe one day I will make one myself.
I hope this post was informative!
Missy

Tuesday, June 12, 2012

Glasses Case and a winner


Wow, it is gonna storm here! My Muffin is scared of storms and hides in the bedroom when it thunders.  He's a real big scaredy cat!  I made a glasses case to match my purse, back before I had to go to AR.  I have prescription sun glasses, one of the best investments ever! (I said that with a valley girl ever so be sure to read it that way!)  (I guess you young girls don't know what I'm talking about when I say valley girl though!)  I used a coupon a couple of years ago to buy 2 glasses plus exam for $100 and then paid the extra $20 for tint on one of them.  I've been using the ugly case it came with, don't know why when it took me less than an hour to make the case!
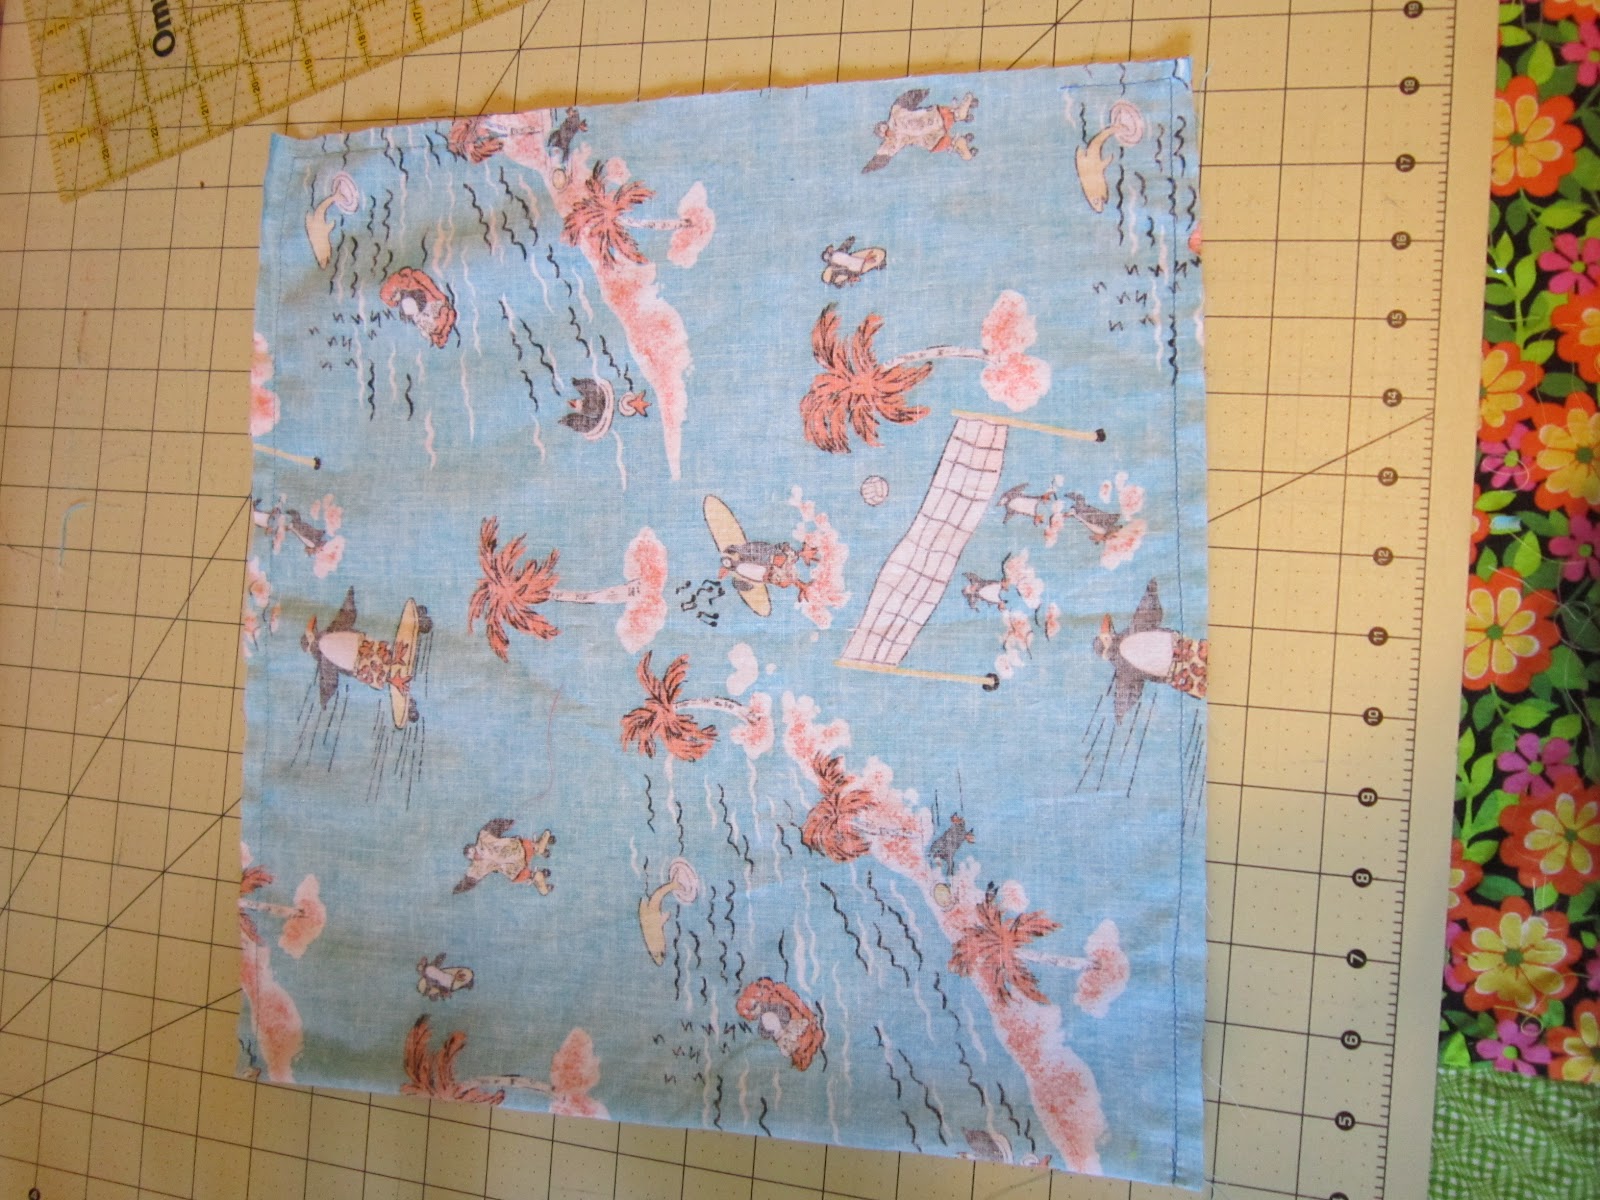
I had some material left over from an apron I had made and it was curved which is why I ended up with a sock looking case.  I used a thick felt for the middle and fleece for the inside.  I wanted as much protection as possible for my glasses and the fleece keeps them clean.  I cut the material 7 inches by 7 1/2 inches, but it is almost too small once I got all the sewing down, but you don't want it too big or glasses might fall out. If your glasses are small like mine, I would go with 7 1/2 by 71/2 to make it a tad wider.   Mine fit perfectly.  I cut all three pieces the exact same size,
  then trimmed the middle down a little to help with bulkiness.  I pinned the middle (pink felt) to the inside (green fleece)
 I sewed an x in the middle to keep the felt from moving around.  By sewing it to the inside fleece, you don't see the x, but make your x bigger, my fleece moves a little when taking the glasses in and out of the case.
 Next, put the two pieces right sides together (the green fleece facing the right side of the outside material, cherries)  Sew the edges leaving a hole at the bottom to be able to flip the material out.  The bottom is the curved edge, but remember mine is only curved because I'm using leftovers.
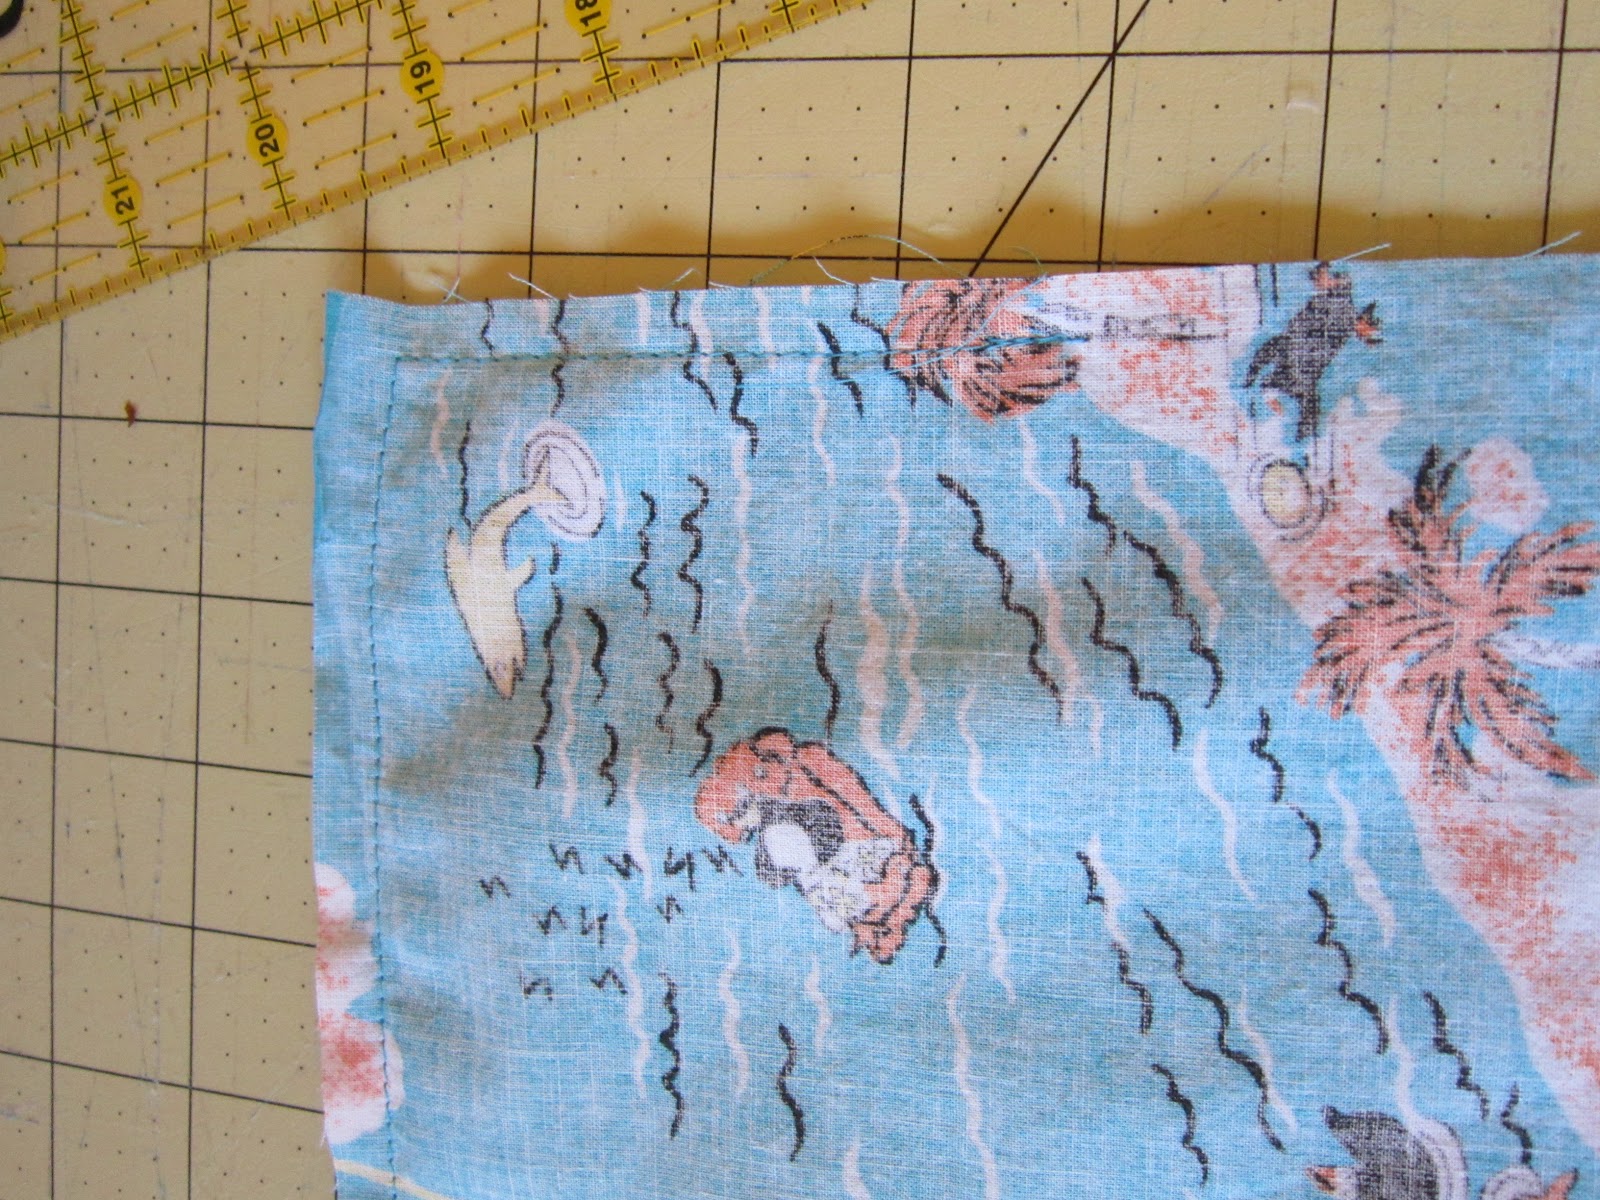
 If you want trim, like my green ruffle ribbon, sew it on now about 1/2 an inch down.  Be sure to sew the hole closed.
Fold the case in half (cherries facing) and sew the bottom (curve) and side stopping at the top (straight side).  When cutting your material give yourself an extra 1 - 1 1/2 inches to allow for both seam allowances.
Flip it out and your case is done!  I smile every time I look it!  I would have liked a rectangle better than a sock, but hey, I was saving material!

It fits perfect in the other side pocket in my purse too!

And for the winner of the book giveaway the River Rose is Rebecca!


"pianogal said...
I have read several of Gilbert Morris' books. We taught at the same college for a few years. He is a great writer! If I had a steamer, I would name it Johnnie Belle. "
I sent you an email, be sure to email me back!

I hope ya'll like giveaways, I'll be having another in the next month or so for another book.

Missy
"Oh taste and see that the Lord is good: blessed is the man that trusteth in Him." Psalm 34:8